How to configure additional checkout fields?
FireCheckout includes the Checkout Fields module. It makes it possible to show additional fields on the checkout page. Your customers will be able to fill them thereby providing you with the additional information you might require.
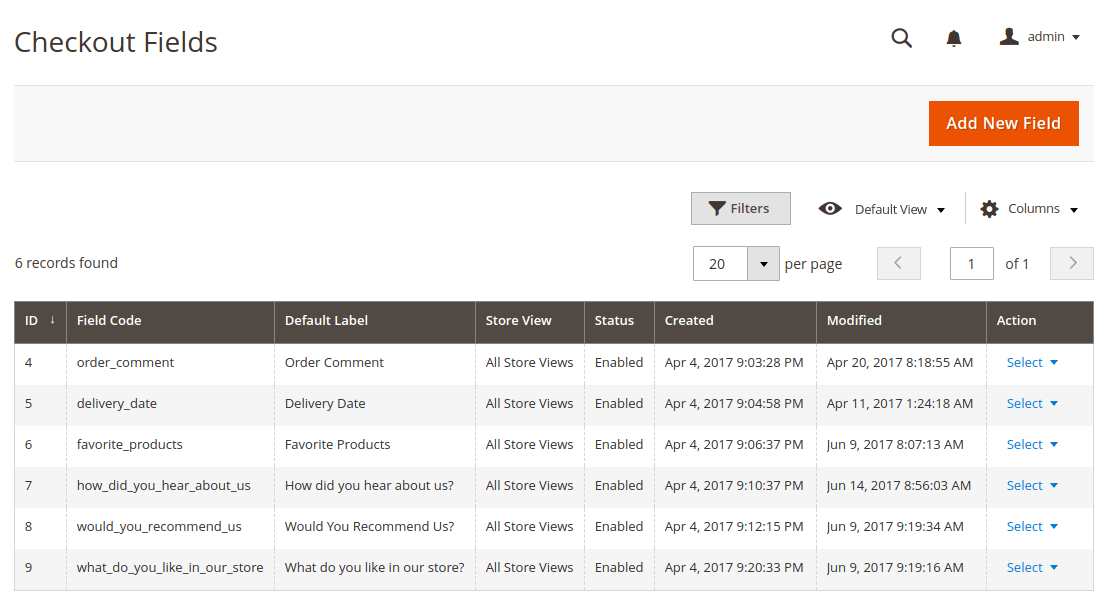
The Checkout fields module includes a simple interface where you can customize additional fields according to your demands. First you have to go to Swissup - Checkout - Checkout Fields menu. Here you can add the new checkout fields as well as modify the existing ones.
Checkout Field Edit Form
The form consists of two tabs: Properties and Manage Labels.
Properties tab
Within the tabs you will be able to configure the main checkout fields, and then assign field label to every store view (e.g. every language).

- In the Default Label field, you have to specify the label, which will be used if there is no store specific label set before.
- In the Store View field, choose a store view to display this one checkout field.
- In the Catalog Input Type for Store Owner you can see available input field types: Text Field, Text Area, Date, Dropdown, Yes/No Dropdown and Multiple Select Dropdown.
- In the Display Type select the look for the checkout field. This type is available for dropdown, multiselect and yes/no input types.
- In the Values Required field, set the field value to required or optional.
The Manage Options fieldset allows specifying values for fields with types dropdown and multiple select.
Advanced fields properties tab

- In the Enabled field, set Yes to enable the checkout field.
- In the Add To Column Options field, set Yes to display the checkout field in the orders grid Sales - Orders.
- In the Attribute Code field, enter a unique feld code. I will be generated automatically from the default label in case you leave it empty.
- In the Sort Order field, set a sort order for the field's display on checkout page.
- In the Notice field, add the explanation to your customers. It will be shown under the field on the checkout page.
- In the Tooltip field, add a short description that will be shown in case a customer makes an error when entering the information.
- In the Placeholder field, you can specify a short hint to user about the field. It will be shown in the text fields before the user enters a value.
- In the Default Value field, you can specify the value for the checkout field that will be displayed by default.